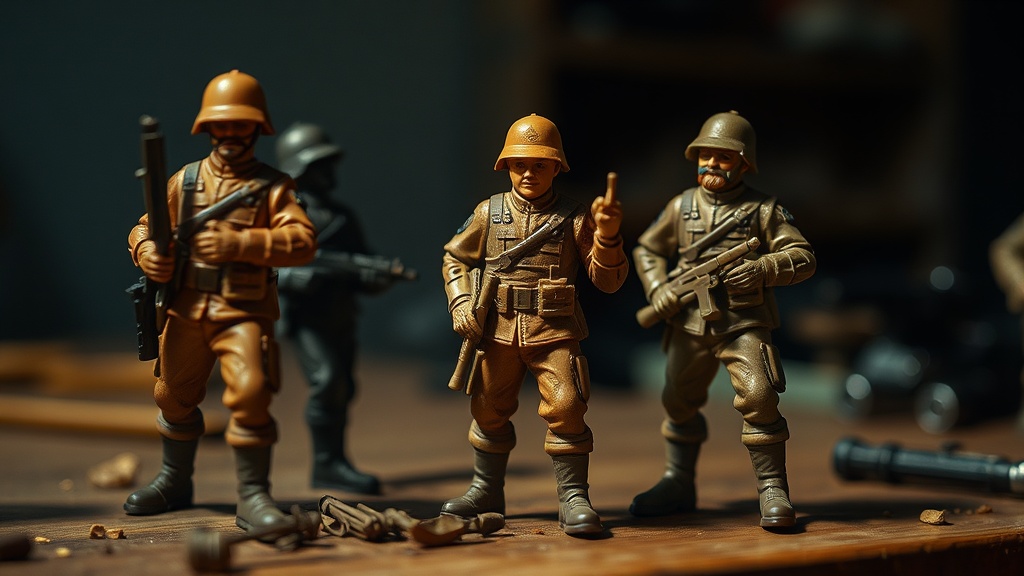
Bringing Them Back: Practical Tips for Mending Damaged Toy Soldiers

In the mid-1960s, plastic injection molding reached such efficiency that toy soldier companies were selling bulk bags for as little as one penny per soldier. This extreme affordability often made them 'disposable' toys, frequently meeting their end in backyard skirmishes or even firecrackers. Yet, for many collectors, these miniature warriors hold immense sentimental—and sometimes monetary—value, making a broken limb or weapon more than just an inconvenience. This guide will walk you through the practical steps for mending damaged plastic and metal toy soldiers, helping you bring cherished figures back from the brink and preserve your collection for years to come.
What common types of damage do toy soldiers typically suffer?
Before diving into the intricacies of repair, it helps to understand the battlefield your figures have endured. Toy soldiers, whether plastic or metal, face a gauntlet of potential perils leading to various forms of damage. Plastic figures are particularly susceptible to brittle breaks—a dropped figure can easily lose a rifle barrel, an arm, or even a leg at a joint. Their softer composition means weapons can bend, and thinner sections might snap cleanly, leaving you with two pieces where there was once one. Often, these breaks occur at stress points: ankles, wrists, or where an accessory is molded too thinly. The plastic itself, especially older varieties, can become incredibly fragile over decades, making even careful handling a risk.
Metal figures, especially the hollow-cast variety, present a different challenge. While generally more robust than their plastic counterparts, they're not invincible. Drops can lead to dents, particularly on flatter surfaces or larger components. Thinner metal parts, like bayonets or flags, can bend severely or even snap if subjected to enough force. Paint chipping is also a prevalent issue across both materials, but perhaps more noticeable on metal where the underlying grey or silver can starkly contrast with the original uniform colors. Beyond that, older figures, regardless of material, can suffer from material degradation; plastic becoming brittle over time, and metal experiencing "fatigue" or even corrosion if not stored properly. Understanding these common injuries is your first step toward effective treatment, guiding your choice of materials and repair techniques.
What tools and materials are indispensable for effective toy soldier repair?
Approaching toy soldier repair without the right equipment is like attempting a siege without a catapult—futile, and likely to cause more frustration than success. Gathering your arsenal before you begin will make the process smoother and the results far more satisfactory. Here's a breakdown of what you'll need:
- Adhesives: This is arguably your most critical component.
- Cyanoacrylate (CA) Glue (Super Glue): Ideal for quick, strong bonds on plastic. Look for thin, medium, and gel viscosities. Thin CA wicks into tight seams, medium provides a bit more working time, and gel is excellent for gap filling. Caution: It bonds skin instantly, so always use with care!
- Plastic Solvent Cement: Specifically for polystyrene plastics (many vintage figures). This "welds" the plastic together by chemically melting and fusing the surfaces. It creates a very strong, nearly invisible bond on compatible plastics, though it requires precise fit and good ventilation.
- Two-Part Epoxy: A stronger, more flexible bond for heavier plastic or metal figures, especially where structural integrity is key. It takes longer to cure but offers superior strength and often fills small gaps.
- Sculpting & Filling Compounds:
- Milliput or Green Stuff (Epoxy Putty): These two-part putties are fantastic for reconstructing missing parts—a sword hilt, a helmet plume, or even an entire hand. They cure to a hard, sandable finish and can be painted.
- Acrylic Putty/Filler: Useful for filling tiny gaps or smoothing seams before painting.
- Precision Tools:
- Hobby Knife (e.g., X-Acto): Indispensable for cleaning broken edges, trimming flash, and shaping cured putty. Always use a sharp blade for safety and precision.
- Fine Files & Sanding Sticks/Paper: For smoothing seams, shaping putty, and preparing surfaces for adhesion. Grits ranging from 400 to 1200 are generally sufficient.
- Tweezers: Essential for handling small, delicate parts and placing them accurately.
- Small Clamps or Helping Hands: Crucial for holding parts in place while adhesives cure. Rubber bands can also work in a pinch.
- Toothpicks & Applicator Sticks: For applying tiny amounts of glue or putty with precision.
- Paints & Brushes:
- Acrylic Paints: A good range of model-making acrylics will allow you to color match for touch-ups. Matte finishes are usually best for toy soldiers.
- Fine Detail Brushes: For precise paint application.
- Primer: If you're rebuilding significant sections with putty, a thin coat of primer will ensure uniform paint adhesion and reveal any imperfections.
- Safety Gear:
- Disposable Gloves: To protect your hands from glue and paint.
- Safety Glasses: Essential when using hobby knives or working with brittle plastics that might splinter.
- Good Ventilation: Especially when using solvent cements or strong adhesives.
As Mackenzie Garcia from toysoldiers.blog always emphasizes, quality tools are an investment, not an expense. You don't need the most expensive brands, but reliable, well-maintained tools will significantly improve your repair success. For a comprehensive guide on various adhesive types and their applications in crafting, consider consulting resources like